Creating a Technical Blog Using Jekyll and GitHub Pages
How to Create a Technical Blog Using Jekyll and GitHub Pages
Many technical writers are comfortable writing documentation but hesitate when it comes to creating and hosting a personal blog. Not because they lack the skills—but because the tooling feels unfamiliar and unnecessarily complex.
This post is written from the perspective of a technical writer who has gone through that hesitation and learned that blogging does not need a heavy platform, a CMS, or ongoing maintenance.
Using Jekyll and GitHub Pages, you can build a clean, fast, and maintainable blog using the same principles you already apply to documentation: structure, version control, and clarity.
-–
Why Jekyll and GitHub Pages?
Before jumping into steps, it’s important to understand why this combination works so well for technical writers.
- Jekyll converts plain text (Markdown) into a static website
- GitHub Pages hosts that website for free
- No servers, databases, or dashboards to manage
- Your content lives in version control
If you are comfortable with Git and Markdown, you already know most of what you need.
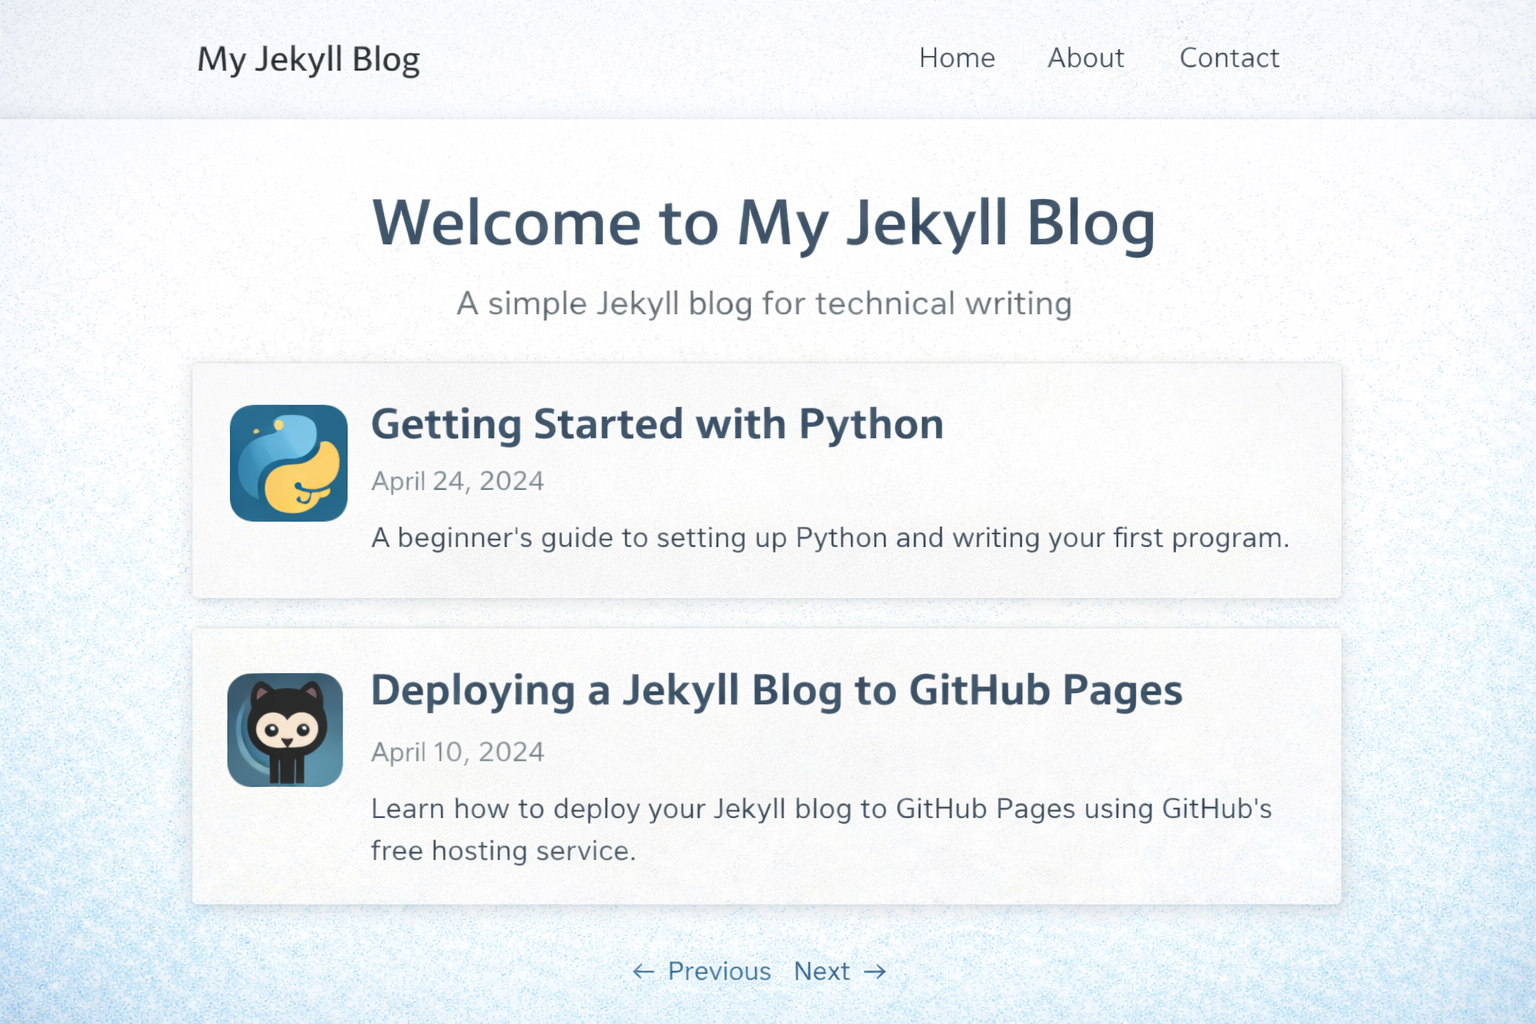 Example of a simple Jekyll blog homepage
Step 1: Install Prerequisites
You need three things on your local machine:
- Ruby
- Bundler
- Jekyll
On macOS or Linux, Ruby is often preinstalled. On Windows, installing Ruby using RubyInstaller is recommended.
gem install bundler jekyll
Once installed, verify:
jekyll -v
Step 2: Create a New Jekyll Site
Create a new site using Jekyll’s default structure:
jekyll new my-blog
cd my-blog
bundle install
Start the local development server:
bundle exec jekyll serve
Open your browser and visit:
http://localhost:4000
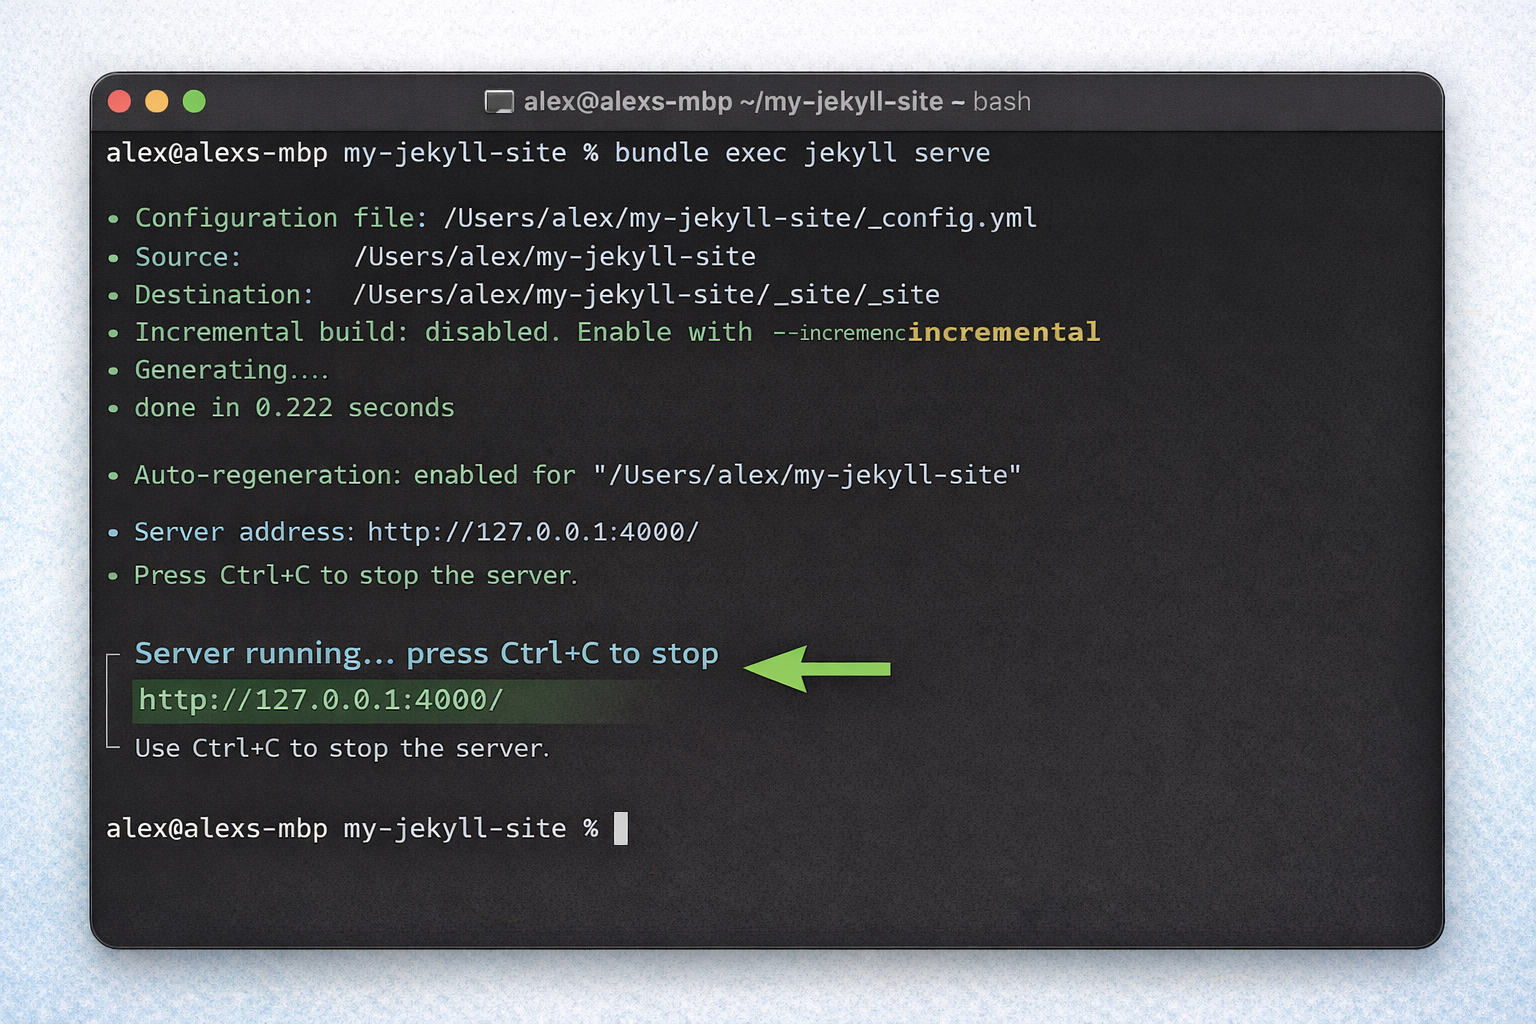 Jekyll default site running locally
Step 3: Understand the Jekyll Structure
At first glance, the folder structure may feel unfamiliar. The important parts are:
-
_posts/— where blog posts live -
_config.yml— site configuration -
_layouts/— page layouts -
index.md— homepage content
A typical blog post file looks like this:
_posts/2026-01-01-my-first-post.md
And begins with front matter:
---
title: "My First Post"
date: 2026-01-01
layout: post
---
Everything after that is just Markdown.
Step 4: Push the Blog to GitHub
Create a new GitHub repository named:
yourusername.github.io
This naming convention is important—it tells GitHub Pages to serve the site automatically.
Initialize Git and push:
git init
git add .
git commit -m "Initial Jekyll blog"
git branch -M main
git remote add origin https://github.com/yourusername/yourusername.github.io.git
git push -u origin main
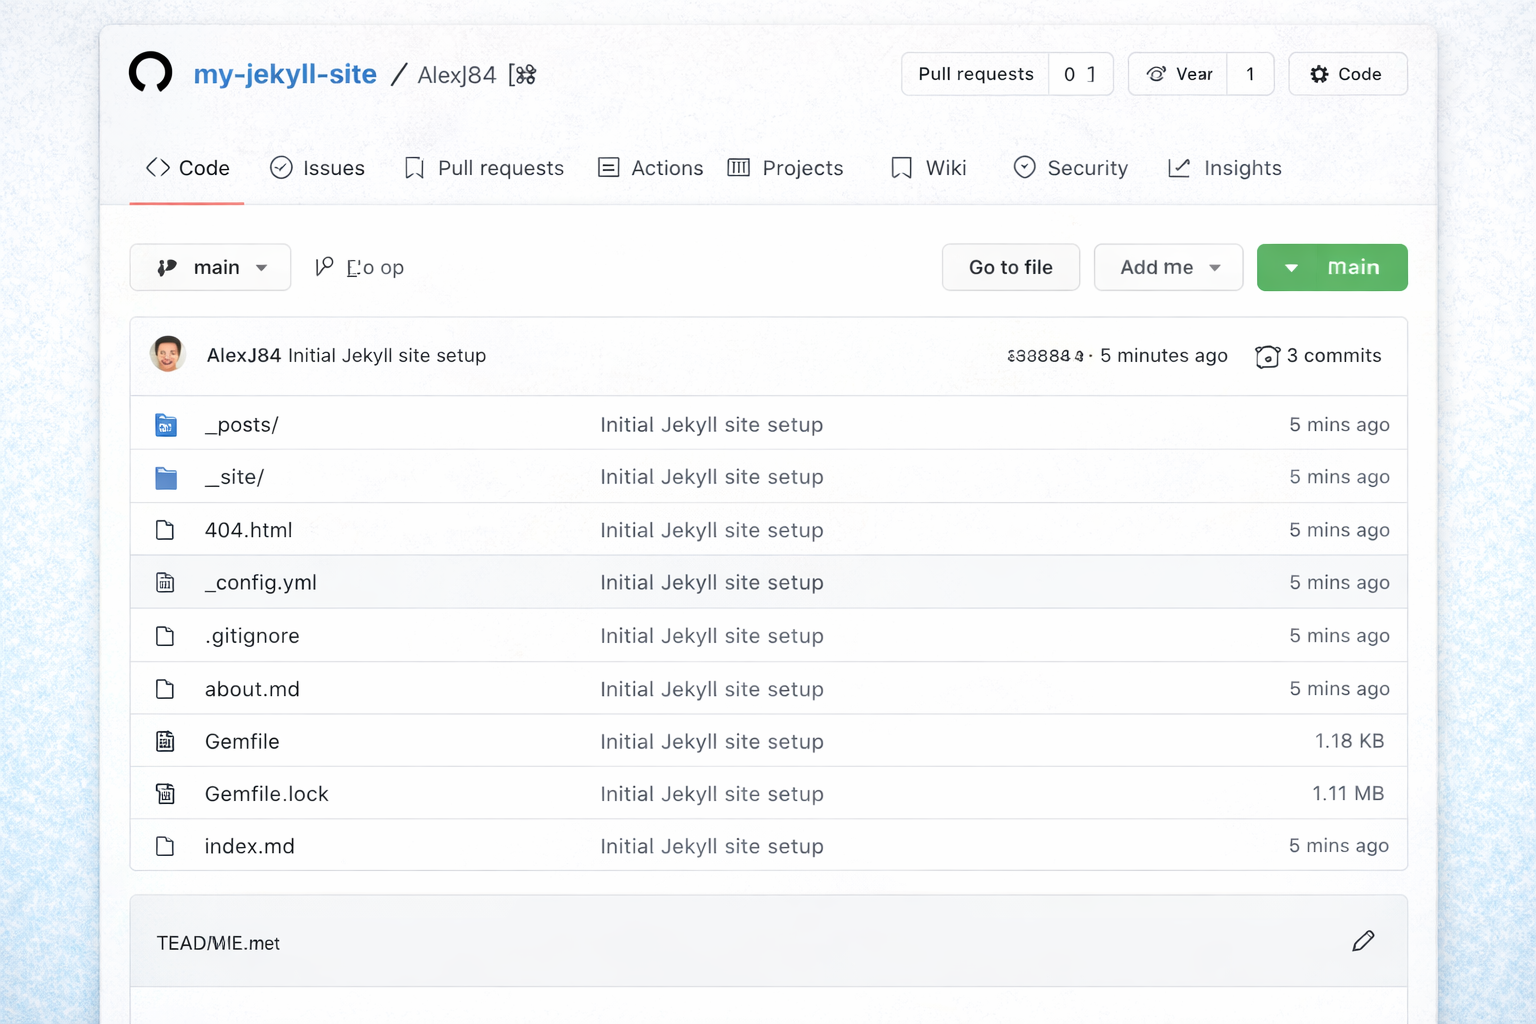 GitHub repository with Jekyll files
Step 5: Enable GitHub Pages
In the GitHub repository:
- Go to Settings → Pages
- Select Branch: main
- Select Folder: / (root)
- Save
Within a minute or two, your blog will be live at:
https://yourusername.github.io
Step 6 (Optional): Connect a Custom Domain
If you own a domain, you can point it to GitHub Pages.
At your domain registrar:
- Add four A records pointing to GitHub Pages IPs
- Add a CNAME record for
www
185.199.108.153
185.199.109.153
185.199.110.153
185.199.111.153
In your repository root, add a file named CNAME:
yourdomain.com
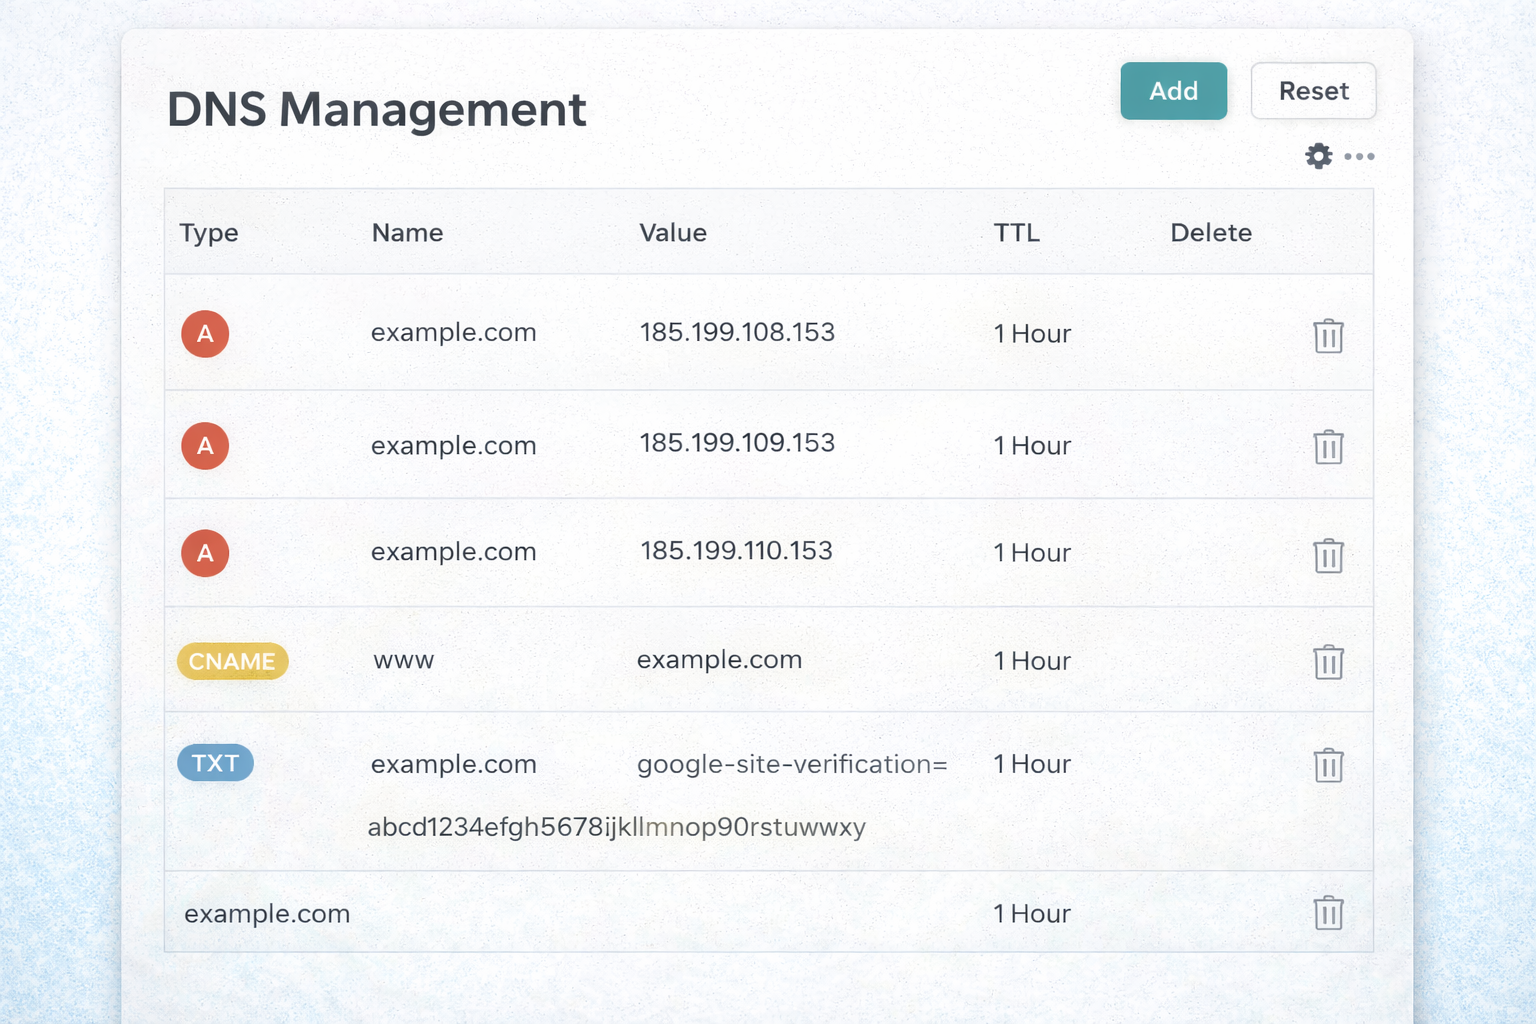 DNS configuration at domain registrar
What This Setup Gives You
- A fast, static site
- Full control over content and structure
- No vendor lock-in
- A writing workflow aligned with documentation practices
Most importantly, it removes friction. Writing becomes the primary task again.
Final Thoughts
Technical writers already understand structure, clarity, and audience. Blogging with Jekyll simply applies those skills to a different medium.
You don’t need a complex platform to publish thoughtful work. You need a system that stays out of the way.
Jekyll and GitHub Pages do exactly that.
DraftRefine
Clear thinking. Refined writing.